

How to Add Your Logo to WordPress: A Complete Guide
Discover a step-by-step guide to adding a crisp logo to WordPress using Quicklogo for perfect results. Prevent blurriness and enhance speed effortlessly.
Quicklogo Team
How to Add Your Logo to WordPress: A Complete Guide
Ever uploaded a logo to WordPress only to find it looks blurry or overwhelms your site with lag? You're not alone. Most guides out there stop at the upload button, but the real challenge is preparing your logo correctly before it even touches your WordPress site. In this guide, we're going beyond the basics to tackle the root of the problem: generating and optimizing your logo files first.
Using Quicklogo, we’ll walk you through crafting the perfect logo—ensuring no more fuzzy headers or pixelated site icons. You'll learn how to create crisp, web-ready files, integrate seamlessly with both Classic and Block WordPress themes, and optimize for speed and accessibility. Say goodbye to guessing formats and sizes; we've got concrete targets and an accessible workflow that will make your logo look pristine and professional. Let's dive in and fix those logos before they even get the chance to let you down.
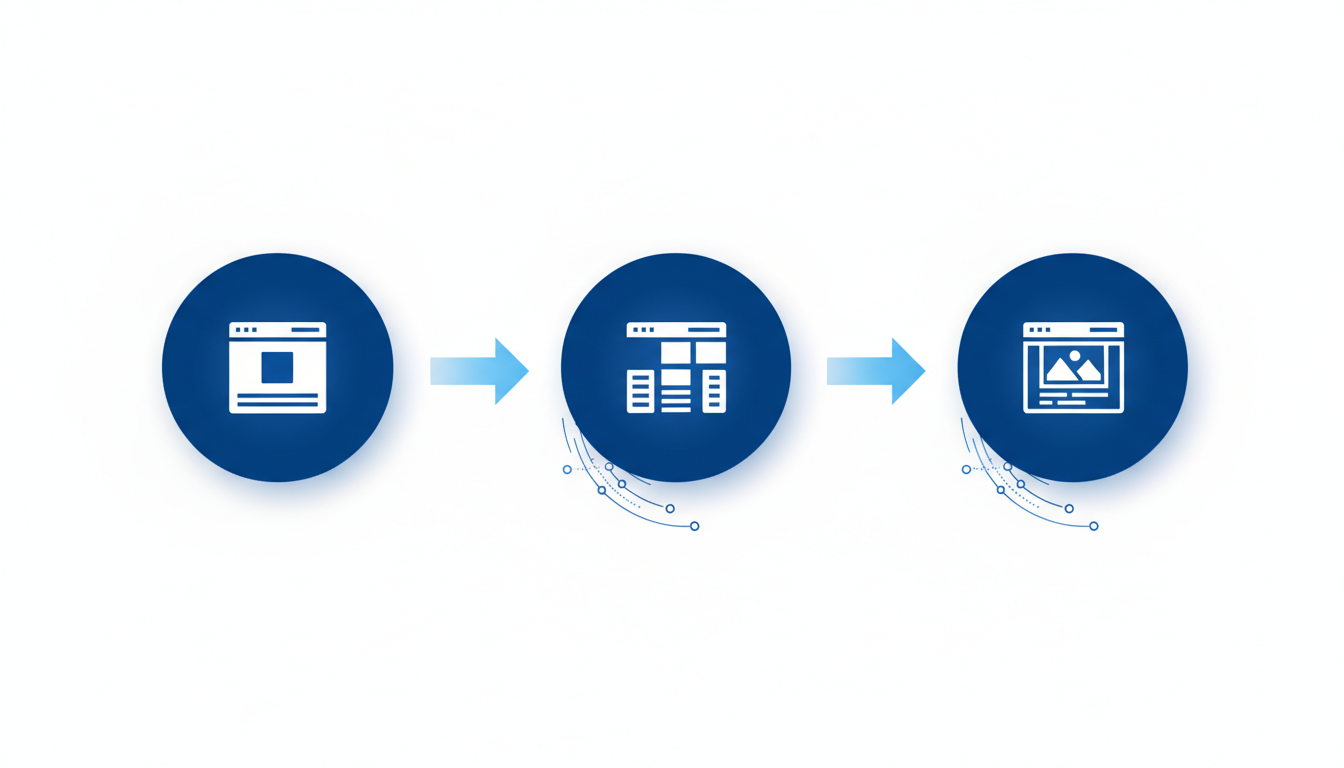
Introduction: Why Logo Prep Matters
Imagine this: You’ve just uploaded your new logo to your WordPress site, but instead of the crisp, professional look you expected, it appears blurry and unrefined. Frustrating, right? Surprisingly, the issue isn’t with WordPress itself—it’s with the preparation of your logo files. Uploading the wrong file with incorrect dimensions or excessive weight can lead to blurry visuals and sluggish site performance.
When you aim to add a logo to WordPress, it’s essential to focus on logo preparation first. This often-overlooked step ensures your branding appears professional and doesn’t compromise your website’s speed. Assets prepped incorrectly not only affect aesthetics but also affect how your site functions. Bigger files mean longer load times, which can frustrate visitors and even impact your search engine ranking.
Here’s where the need for a proper workflow comes in. By preparing your logo using a structured approach, like Quicklogo, you can ensure that every step—from generating to uploading—is seamless. This eliminates common problems such as the blurry logo issue or slow-loading pages, which can deter potential customers.
Consider these key dimensions to keep in mind:
- A horizontal logo should be around 250x150 pixels.
- A vertical logo works best at 160x160 pixels.
Choosing the right format is equally crucial. A transparent PNG ensures seamless integration, while an SVG file offers scalability without losing quality. Both formats are becoming increasingly popular, with SVG usage on the rise due to its flexibility.
Another aspect of your logo prep involves file size. You should avoid logos larger than 200KB and aim for less than 50KB to maintain performance efficiency. Additionally, including descriptive filenames and alt text—like “Company Name Logo”—enhances accessibility and SEO, promoting better visibility for your brand.
By addressing these elements upfront, you set the stage for a sharp and professional-looking logo on your WordPress site, ensuring your brand leaves a positive first impression.
Identify Your WordPress Theme Type
To make sure you're on the right track with adding your logo to WordPress, it's essential to first determine your theme type. WordPress uses two main types of themes: Classic and Block. Each of these requires a slightly different approach for customizing your site, including where to place your logo.
Classic Themes
If you're using a Classic theme, you'll typically manage your site's customization through the Appearance > Customize path. This brings up the Site Identity section, where you can upload and manage your logo. Classic themes are known for their straightforward structure, making them a popular choice for small business owners and beginners who appreciate simplicity.
Here's what you need to do:
- Navigate to Appearance > Customize in your WordPress dashboard.
- Click on Site Identity.
- Upload your logo file, keeping in mind the recommended dimensions of 250x150 pixels for horizontal logos. This ensures clarity and avoids blurriness.
By following these steps, you ensure that your logo integrates seamlessly within a Classic theme environment.
Block Themes
Block themes offer a more modular approach, using the Gutenberg block editor to arrange your site's layout. If you're on a Block theme, you'll work within the Appearance > Editor interface.
To add your logo in a Block theme:
- Head to Appearance > Editor.
- Locate the Header block where your logo will be positioned.
- Insert your logo with the recommended dimension of 160x160 pixels for vertical logos to maintain a clean and crisp appearance.
Block themes might seem complex initially, but they provide flexible design options that can cater to more creative branding needs.
Getting It Right
Ensuring you're in the right interface not only simplifies the process but also prevents common issues like blurriness or misalignment. By identifying your theme correctly, you're setting yourself up for success in uploading a sharp, professional logo.
Remember, no matter the theme, using file formats like JPEG or transparent PNG can help keep your images looking sharp across various devices and screen resolutions. In the next steps, we'll dive into specific strategies to optimize these files and keep your site running smoothly.
Preparing the Right Logo Files with Quicklogo
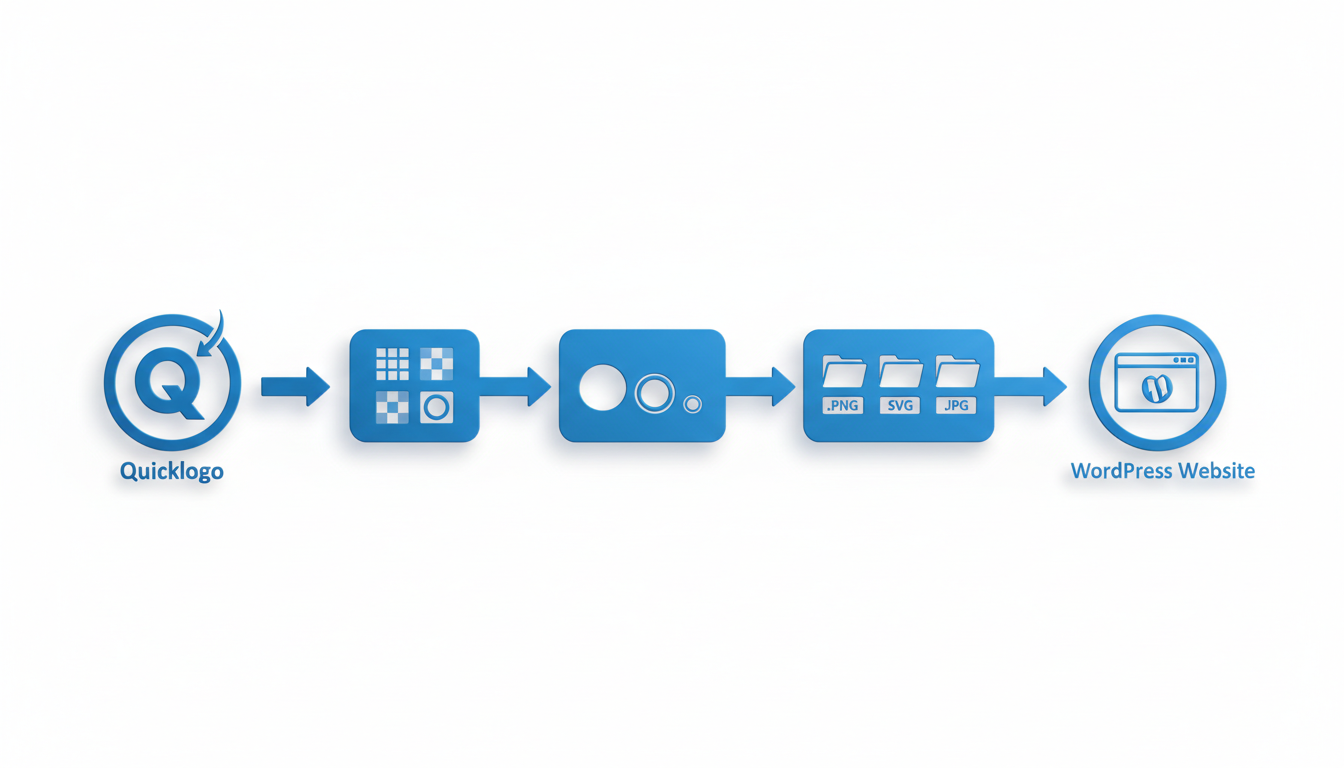
Imagine trying to impress with your brand, but ending up with a blurry or pixellated logo on your WordPress site. Frustrating, right? That’s where the art of proper logo preparation comes in. With Quicklogo, you can create web-ready logos that keep your brand looking sharp and professional on any device.
First things first: Quicklogo lets you generate high-quality logos with ease. Using advanced AI technology, Quicklogo does the heavy lifting—generating multiple options so you can find exactly what fits your brand. Once you’ve selected your favorite design, it’s time to think about exporting your logo in the right formats.
Optimal Formats: PNG and SVG
Transparent PNGs are essential for seamless integration into your WordPress site without any background clashes. This is crucial for fitting well into various production needs—something WP Engine emphasizes as vital. On the other hand, if scalability is your main concern, consider SVG format. SVGs offer the benefit of resizing without losing quality, making them ideal for retina screens and other high-resolution displays. The trend is moving towards SVGs due to their flexibility, so incorporating them could future-proof your branding efforts.
Target Dimensions: Size Matters
A common pain point for many is ensuring that logos don’t appear blurry or stretched. Aim for specific size targets: 250×150 pixels for horizontal logos or 160×160 pixels for square ones. These dimensions are recommended for maintaining clarity across different devices. Quicklogo allows you to easily export your designs in these optimal sizes, preventing any guesswork and ensuring a professional look every time.
Optimize for Speed: Keep File Sizes in Check
Website performance is another critical factor. Large image files can slow down your site—a web user's nightmare. Aim to keep your logo file sizes under 50KB, and definitely avoid exceeding 200KB. Smaller files load faster, enhancing the user experience without compromising on visual quality. Tools like Imagify are excellent for compressing images for web use, but with Quicklogo, you can start off on the right foot by exporting your files efficiently.
Performance and Accessibility: Final Touches
Finally, don’t overlook accessibility and SEO. Add descriptive filenames and alt text like “Company Name Logo” to improve web accessibility and search engine optimization. These details not only aid in boosting your SEO but also ensure that users with visual impairments can understand your content.
Using Quicklogo streamlines this entire process—from creating to exporting web-ready logos—all while adhering to best practices. Ready to get started? Check out how Quicklogo handles this and ensure your brand is always making the right impression.
Upload Logos in WordPress Customizer (Classic Themes)
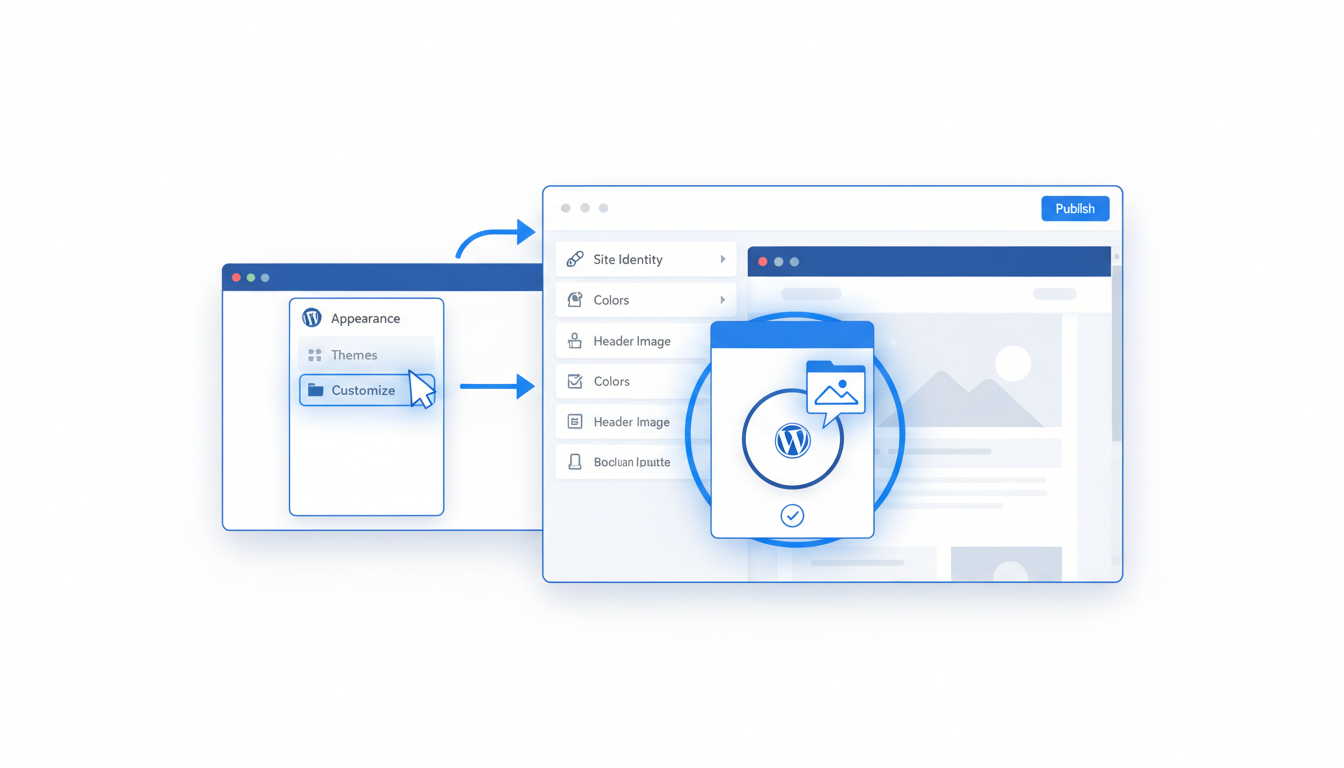
When you're ready to upload your logo to a WordPress site using Classic Themes, the process is intuitive and straightforward. Let’s walk through the steps to ensure your logo looks sharp and integrates smoothly without slowing down your site.
Start with Navigation
Begin by navigating to Appearance > Customize > Site Identity in your WordPress dashboard. This is where you'll set up both your header logo and your site icon, which is also known as the favicon. These are essential for branding consistency across your website.
Upload Your Header Logo
Ready Your File: Ensure you have prepared your logo using Quicklogo. The ideal size for a horizontal logo is 250x150 pixels, which fits neatly across most site headers. For a vertical logo, aim for 160x160 pixels. Make sure it's exported as a transparent PNG for seamless integration, or as an SVG for scalability. Remember, these formats help prevent blurriness and maintain quality.
Upload the File: Click on the Select Logo option within the Site Identity settings. Locate your file, upload it, and then select it for display.
Tip: Keep your logo file size under 50KB to avoid slowing down your site. You can use tools like Quicklogo or plugins such as Imagify to compress your files effectively.
Setting Up Your Site Icon (Favicon)
Icon Specifications: Your site icon should be 512x512 pixels to ensure it's crisp across different devices and browsers. Similar to your logo, use the PNG format for clarity and transparency.
Upload the Icon: Find the Site Icon section under Site Identity. Upload the icon following the prompts. This little image packs a punch in branding, appearing in browser tabs and bookmark lists.
Ensure Correct Placement and Visibility
- Preview Your Changes: Before you finalize your customizations, use the preview feature to check how your logo appears across different screen sizes. Adjust if necessary.
Expert Insight: "PNG transparency is crucial for ensuring logos fit well in various production sites." — WP Engine. This ensures your logo elements don’t get lost against dynamic background colors.
SEO and Accessibility
Don’t forget to add alt text to your logo with something descriptive like “Company Name Logo.” This step enhances accessibility and boosts SEO, helping search engines understand your site's branding.
By following these steps, you'll ensure your logo looks professional and your site runs smoothly, keeping your visitors engaged with your brand from the very first impression.
Upload Logos in WordPress Site Editor (Block Themes)
When it comes to uploading your logo in WordPress using block themes, the process is straightforward but requires attention to detail for optimal results. Let’s dive into the essentials.
Navigating the WordPress Editor
To start, head over to Appearance > Editor > Header within your WordPress dashboard. This is where you’ll manage the layout and design elements of your header, including your logo.
Positioning and Sizing Your Logo
Proper logo placement is crucial in block themes. The flexibility of blocks means you can adjust your layout, but it’s vital to ensure your logo maintains its aspect ratio and doesn’t appear distorted. Aim for specific dimensions—250×150 pixels for horizontal layouts or 160×160 pixels for vertical. This ensures your logo looks sharp across different devices, from desktop screens to mobile displays.
Compatibility Considerations
Block themes offer robust customization, yet they come with considerations specific to logo compatibility:
- Responsive design: Verify that your logo scales well on various devices. Retaining clarity is vital, especially on retina screens.
- Format choice: Using a transparent PNG helps integrate your logo seamlessly with any background. Opt for an SVG if you desire scalability without quality loss. As WP Engine points out, “PNG transparency is crucial for ensuring logos fit well in various production sites.”
Performance Tips
To avoid bogging down your site:
- File size matters: Keep your logo under 50KB. Anything over 200KB can result in slower site performance. Tools like Imagify can assist in optimization, although Quicklogo also offers efficient export options prioritizing smaller file sizes.
- SEO and accessibility: Include descriptive filenames and alt text, such as “Company Name Logo,” to enhance your site's SEO and make it accessible to screen readers.
Wrapping Up
By following these steps, you ensure your logo not only fits within your block theme aesthetically but also performs effectively. Remember, preparing and optimizing your logo with the right specifications is the true secret to sidestepping common headaches like blurriness and slow loading times.
Optimize Logo Performance and Accessibility
When it comes to optimizing your logo on WordPress, a few key practices can significantly enhance your site’s performance and accessibility. Here’s how you can ensure your logo not only looks great but also functions optimally:
Monitor File Size for Site Speed
Key Insight: Smaller file sizes lead to faster load times, which are crucial for user experience and SEO. Aim for your logo files to stay under 50KB. Larger files, especially over 200KB, can slow down your site, causing potential visitors to leave before your page even loads.
- Use formats like transparent PNGs and SVGs, which allow for scalable and lightweight images without quality loss. SVGs are particularly advantageous as they offer scalability, ensuring crisp logos on any device without increasing file size.
- Tools like Quicklogo can help generate optimized logos ready for web use, giving you control over formats to maintain both quality and performance.
Add Descriptive Filenames and Alt Text
Key Insight: Proper filenames and alt text enhance accessibility and SEO. When you save your logo file, choose a descriptive filename like company-name-logo.png. This practice helps search engines index your logo more effectively.
- Alt text is vital: Ensure your logo has alt text such as “Company Name Logo”. This not only aids visually impaired users with screen readers but also provides context to search engines, improving SEO.
- Consistently using alt text across your website reinforces your brand identity and supports accessibility standards.
SEO Best Practices for Logos
Key Insight: Thoughtful SEO practices for logos can improve search visibility. Beyond filenames and alt text, consider how your logo interacts with other on-page SEO elements.
- Integrate your logo into structured data: This helps search engines understand how your logo fits into the broader context of your site.
- Align your logo with your brand identity: Ensure it’s consistent with your company’s voice, color scheme, and message across all platforms.
By focusing on these performance and accessibility optimizations, you'll have a logo that not only looks sharp but also contributes positively to your overall site strategy. For more detailed insights on creating optimized logo files, explore Quicklogo’s features.
Troubleshooting Common Logo Issues
When it comes to WordPress logos, many users face the frustrations of blurry visuals and poorly sized favicons. Let’s dive into how you can solve these common issues.
Blurry or Pixelated Images on Retina Displays
Key insight: Blurry logos often result from incorrect dimensions or low-quality images.
- Ensure Correct Size: For horizontal logos, stick to a 250×150 px size; for vertical ones, go for 160×160 px. These dimensions help maintain clarity on both standard and retina screens, which are notorious for exposing blurry images.
- Choose the Right Format: Opt for a transparent PNG for a crisp, seamless look or an SVG for more scalability without quality loss. SVGs are becoming popular because they appear sharp on different screen resolutions.
"PNG transparency is crucial for ensuring logos fit well in various production sites." — WP Engine
Cropped or Improperly Sized Favicons
Key insight: Favicons that look cropped or unreadable are often improperly sized or incorrectly uploaded.
- Standard Favicon Size: Typically, use a 512×512 px file for favicons to ensure they display well on all devices and browsers.
- Correct Upload Path: Navigate to Appearance > Customize > Site Identity or Appearance > Editor > Header if you’re using a block theme, and upload the favicon in the right spot. Misplaced uploads can lead to resizing issues.
Checklist for Quick Fixes and Validations
To guard against the typical problems, keep this checklist handy:
| Issue | Cause | Fix |
|---|---|---|
| Blurry Logos | Wrong size or low resolution | Resize to 250×150 px / 160×160 px; use SVG/PNG formats |
| Cropped Favicons | Improper dimensions or path | Ensure 512×512 px size; upload under Site Identity or Editor |
| Slow-Loading Logos | Large file sizes | Compress to <50KB using tools like Imagify |
| Lack of Transparency | Incorrect format | Ensure PNG file; double-check format compatibility |
Including these practices not only solves immediate issues but also enhances your site's load speed and accessibility. Remember, a well-prepared logo is key to a professional and polished appearance without slowing down your website.
Final Launch Checklist: Ensure Quality and Performance
Before you proudly unveil your logo in WordPress, let’s ensure everything is in perfect shape. Here’s your step-by-step checklist to guarantee quality and performance:
1. Export the Right Files
- Format Selection: Use transparent PNG for seamless integration with various backgrounds and SVG for scalability without quality loss. Remember, SVG formats are gaining popularity for their versatility.
- Size Matters: Aim for 250×150 pixels for horizontal logos or 160×160 pixels for vertical. This ensures a clear appearance on both desktop and mobile screens.
2. Upload with Precision
- WordPress Pathways: Whether using a Classic theme or a Block theme, navigate to the right spots:
- For Classic, use Appearance > Customize > Site Identity.
- For Block themes, head to Appearance > Editor > Header.
- Match Icon and Favicon: Keep your favicon dimensions around 512×512 pixels for a crisp display in browser tabs.
3. Optimize for Speed
- Compression Check: Avoid files larger than 200KB. Target logos under 50KB for swift loading times. Use tools like Imagify for extra compression, but remember Quicklogo’s efficient exports often meet these specs without much tweaking.
4. Accessibility & SEO
- Alt Text & Filenames: Add descriptive alt text like “Company Name Logo” to enhance accessibility. Name your files aptly to improve SEO — think “companyname-logo.png” rather than “logo1.png”.
5. Validate Quality
- Preview and Refine: Check your logo’s appearance across devices. Ensure it isn’t blurry, stretched, or cropped. If something seems off, double back to check your export dimensions and formats.
Ready for Launch?
Copy this checklist, and keep it handy for future updates. Before hitting publish, revisit your steps: Export, Upload, Optimize, and Validate. With these in place, your logo will shine, enhancing your brand’s online presence without compromising site speed or accessibility. For ongoing needs, explore Quicklogo for swift, professional logo creation and management.
Frequently Asked Questions
Why does my WordPress logo look blurry?
Blurriness often comes from using incorrect file dimensions or low-resolution images. Ensure your logo is in the recommended size and format.
What is the best format for WordPress logos?
Use transparent PNGs for seamless integration and SVGs for scalability and sharper images.
How can I optimize a logo for web?
Compress the image to under 50KB, use appropriate dimensions, and select the right file format.
Can I use the same logo file for header and favicon?
It's best to use different files. Favicons need to be smaller, usually 32×32 px.
How do I add alt text to a WordPress logo?
After uploading your logo, add a descriptive alt text in the media library or via WordPress customizer settings.
Final Thoughts
Adding your logo to WordPress is a crucial step in establishing a brand presence, and it’s simpler when you break it down into key actions. Here’s a quick recap:
- Export the Correct Logo Files: Make sure you have transparent PNG or SVG formats for optimal clarity.
- Upload Your Logo: Use either the Customizer or Site Editor depending on your theme.
- Set the Site Icon: Enhance recognition in browser tabs and mobile settings.
- Add Alt Text & Maintain Filename Hygiene: Improve accessibility and SEO.
- Compress Your Logo: Keep file sizes under 50KB for faster loading times.
To streamline this process, consider using Quicklogo to generate and export web-ready assets efficiently. For a deeper dive into file formats and their uses, explore our detailed post on the subject. Taking these steps ensures that your brand looks sharp and loads quickly, leaving a lasting impression on your audience. Enjoy crafting a visually appealing online identity!
Back to all posts